The easiest way is to not have to.
Press Command + Shift + 4, draw a bounding box around precisely what you would like to capture from your screen.
The image will save to your desktop by default with the title scheme:
”Screen Shot [date] at [time].png.”
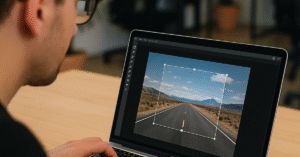
 If you absolutely need to re-crop a screenshot you have already taken— Preview, Macs default image viewer is the way to go.
If preview does not open when you open your image, right click the image and hover over “open with” in the contextual menu. “Preview.app” should be one of the options.
You may find it’s quicker to re-take the screenshot than to crop it. Try both methods and see what works for you.
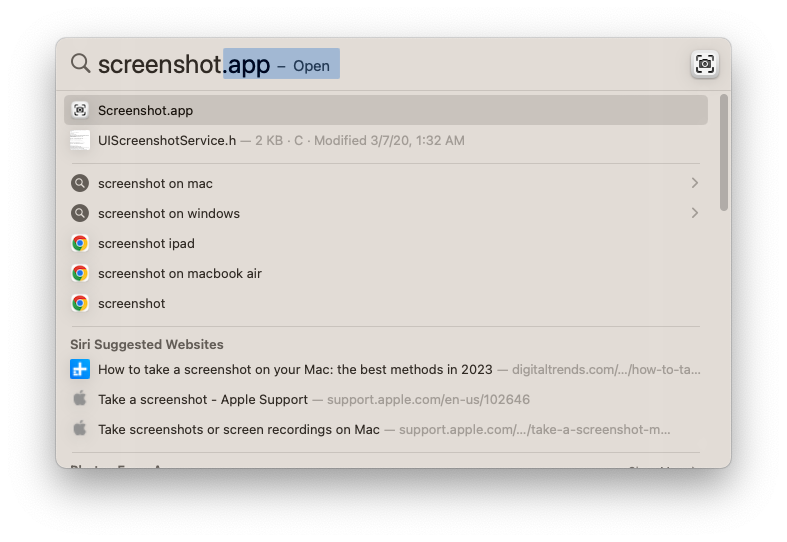
If keyboard shortcuts are not your thing, find the spotlight icon(little magnifying glass) near the clock on the menu bar(the upper right region of your screen).
After clicking, begin typing “screenshot” into the spotlight search field that pops up . You should see the screenshot app with an icon in the results, click or press enter to open it and achieve the same precise screenshot the apps interface.